[embedded content]
—
This is the 13th installment in my series on helping ecommerce merchants create better product images, following “Part 1: Choosing Backdrops,” “Part 2: Selecting Tripods,” “Part 3: Artificial Lighting Basics,” “Part 4: Angles and Viewpoints,” “Part 5: Choosing a Camera,” “Part 6: Selecting a Lens,” “Part 7: Magnification and Close-ups,” “Part 8: Composition Essentials,” “Part 9: Advanced Composition,” “Part 10: Lines as Design Elements,” “Part 11: Image Editing,” and “Part 12: Color Correction and Presets.”
Special Edits to Product Photos
—
In the video below, photographer Rory Factor uses Photoshop’s Warping Tool to create perfectly straightened images.
Removing a background is among the most common photo editing tasks. Source: Remove.bg.
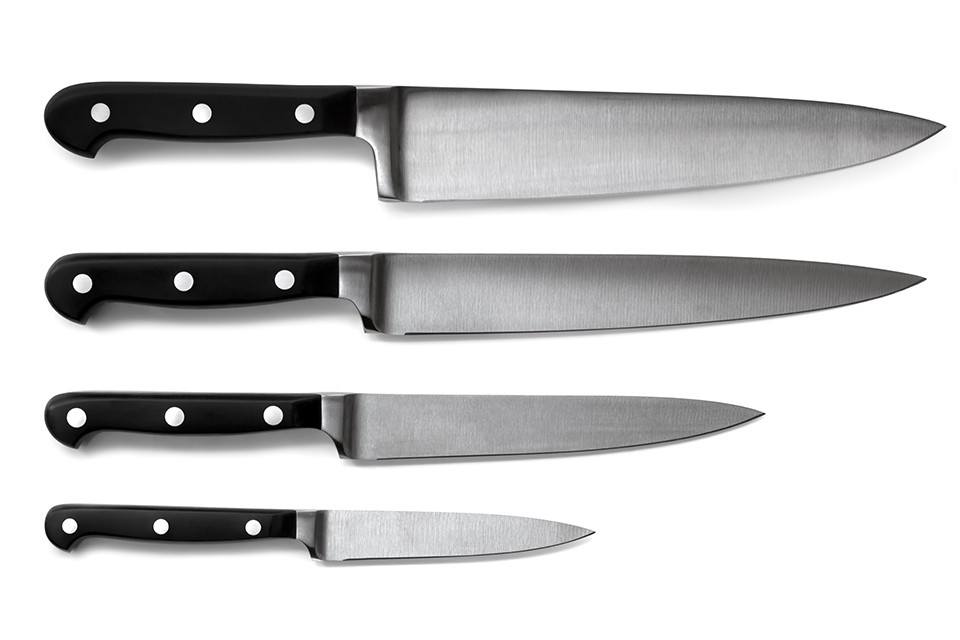
Drop shadows create a sense of depth and dimension, such as on these kitchen knives. Source: Shift4shop.com.
Drop shadows create a sense of depth and dimension, such as on these kitchen knives. Source: Shift4shop.com.
Drop shadows create a sense of depth and dimension, such as on these kitchen knives. Source: Shift4shop.com.
Drop shadows create a sense of depth and dimension, such as on these kitchen knives. Source: Shift4shop.com.
Drop shadows create a sense of depth and dimension, such as on these kitchen knives. Source: Shift4shop.com.
Drop shadows create a sense of depth and dimension, such as on these kitchen knives. Source: Shift4shop.com.
—


—
Removing imperfections. Examine your product before shooting. Check for blemishes, scratches, and damage. Luckily, editing out imperfections isn’t difficult. I use Photoshop’s Healing Brush and Clone Stamp tools. Photographer Amanda Campeanu’s video below explains how to use those tools and clean up misaligned background lines. (She also promotes her course.) I also use TouchRetouch, a terrific mobile app, for spot removal.


