—
—
Image Start to Finish
—
Remove the background shadows created by image’s horizon as marked in green.
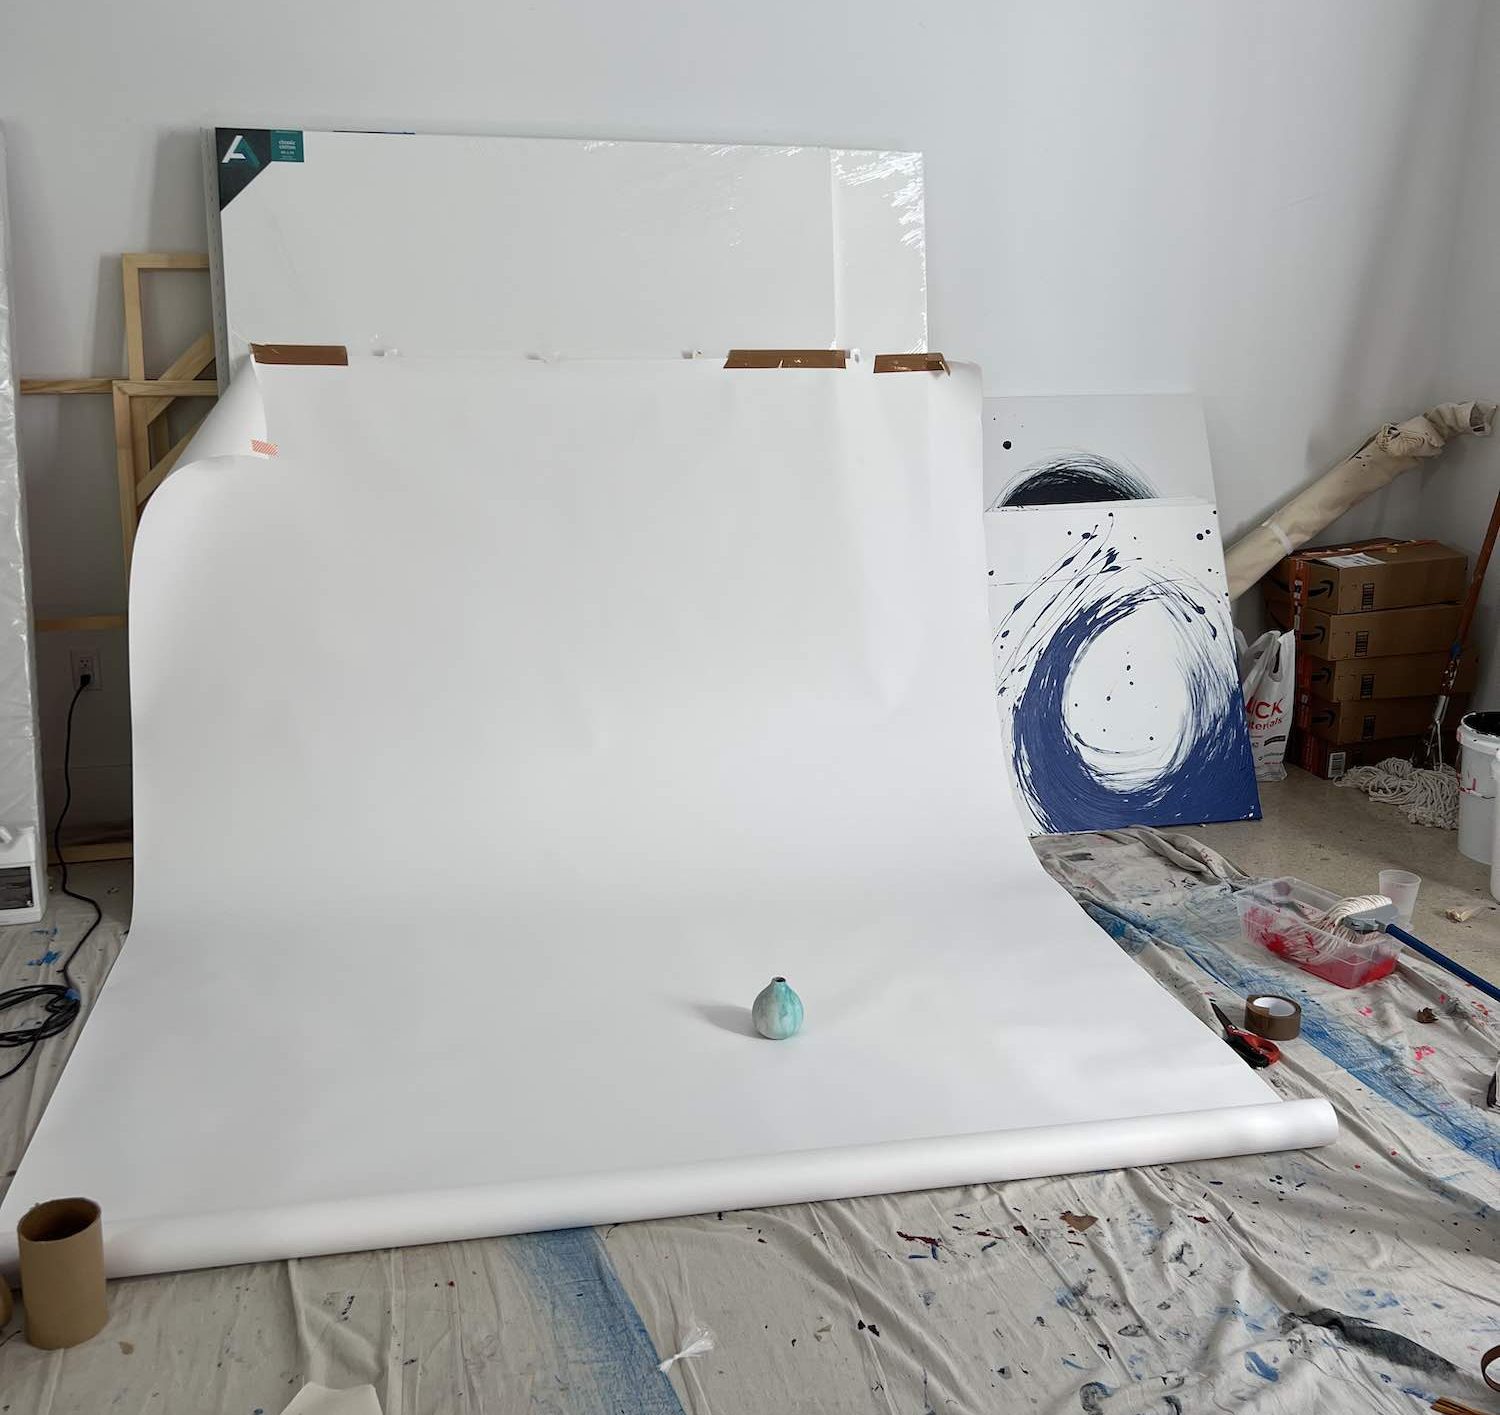

I could have used Adobe Photoshop from a desktop computer to do all of this. But my goal was to demonstrate how to achieve terrific results with a smartphone alone. Plus, switching back and forth between computer-based software and mobile apps on a single image gets unnecessarily complicated.
I offset these deficiencies by using natural lighting to push the shadows to the left of the vase. I could have used artificial lighting if natural light was inferior or if I wanted to remove the shadows.
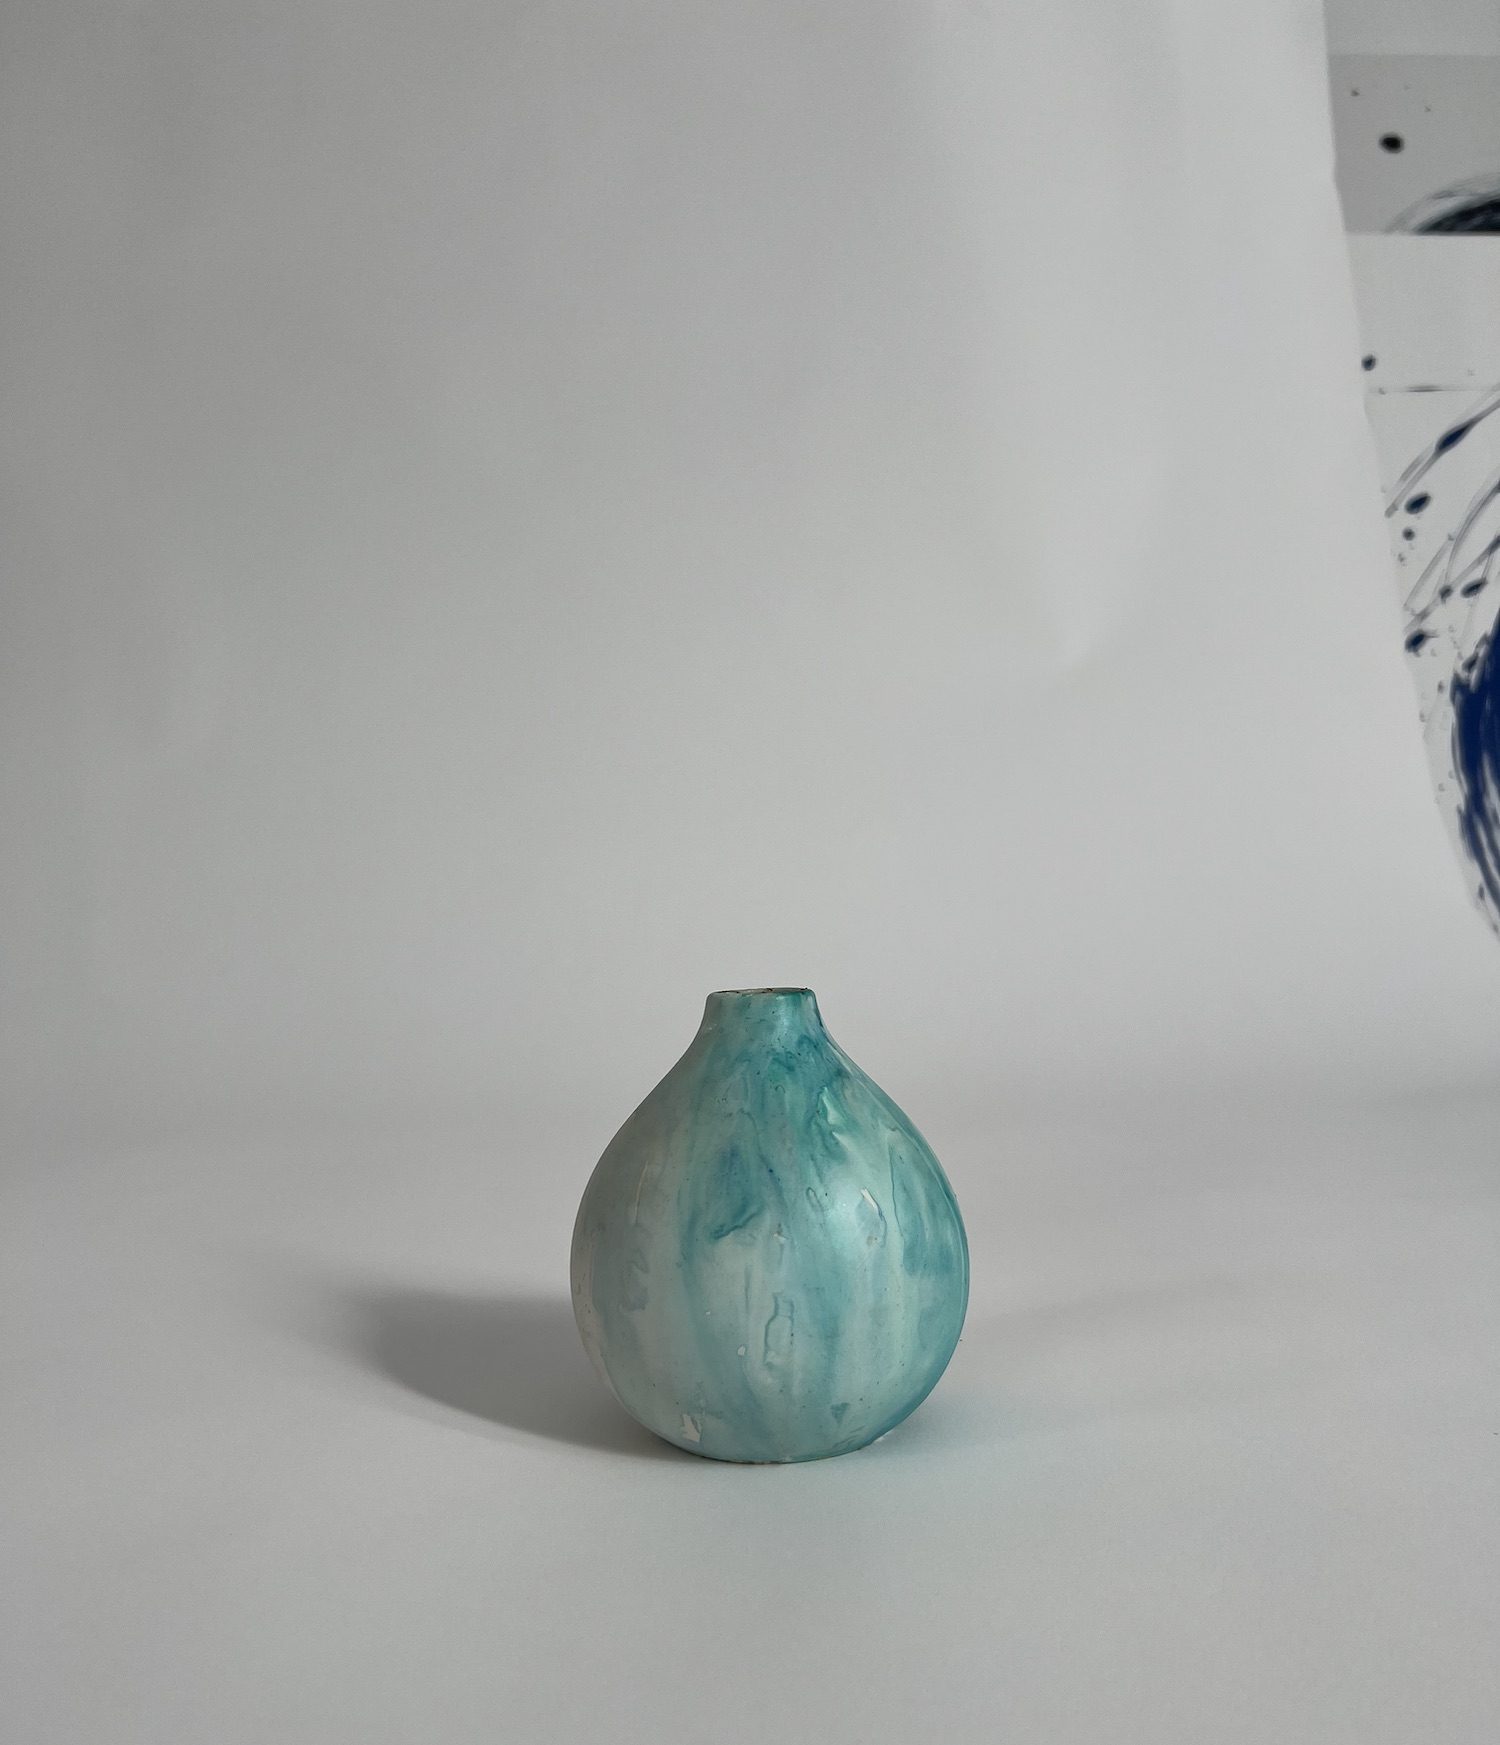
I then removed the background shadows created by the horizon of the image (again, marked in green below), leaving only the shadow from the vase itself. To do this, I again used Touch ReTouch’s brush tool.

Adjust the image’s brightness and color levels with Snapseed.
Adjust the image’s brightness and color levels with Snapseed.
Adjust the image’s brightness and color levels with Snapseed.
Adjust the image’s brightness and color levels with Snapseed.
Adjust the image’s brightness and color levels with Snapseed.
But the image still wasn’t perfect. The color wasn’t right. So using Snapseed, I adjusted the saturation to +42 and added a bit of contrast. That made the entire image pop. I showed it to a friend, who said she would buy my vase based on the photo!
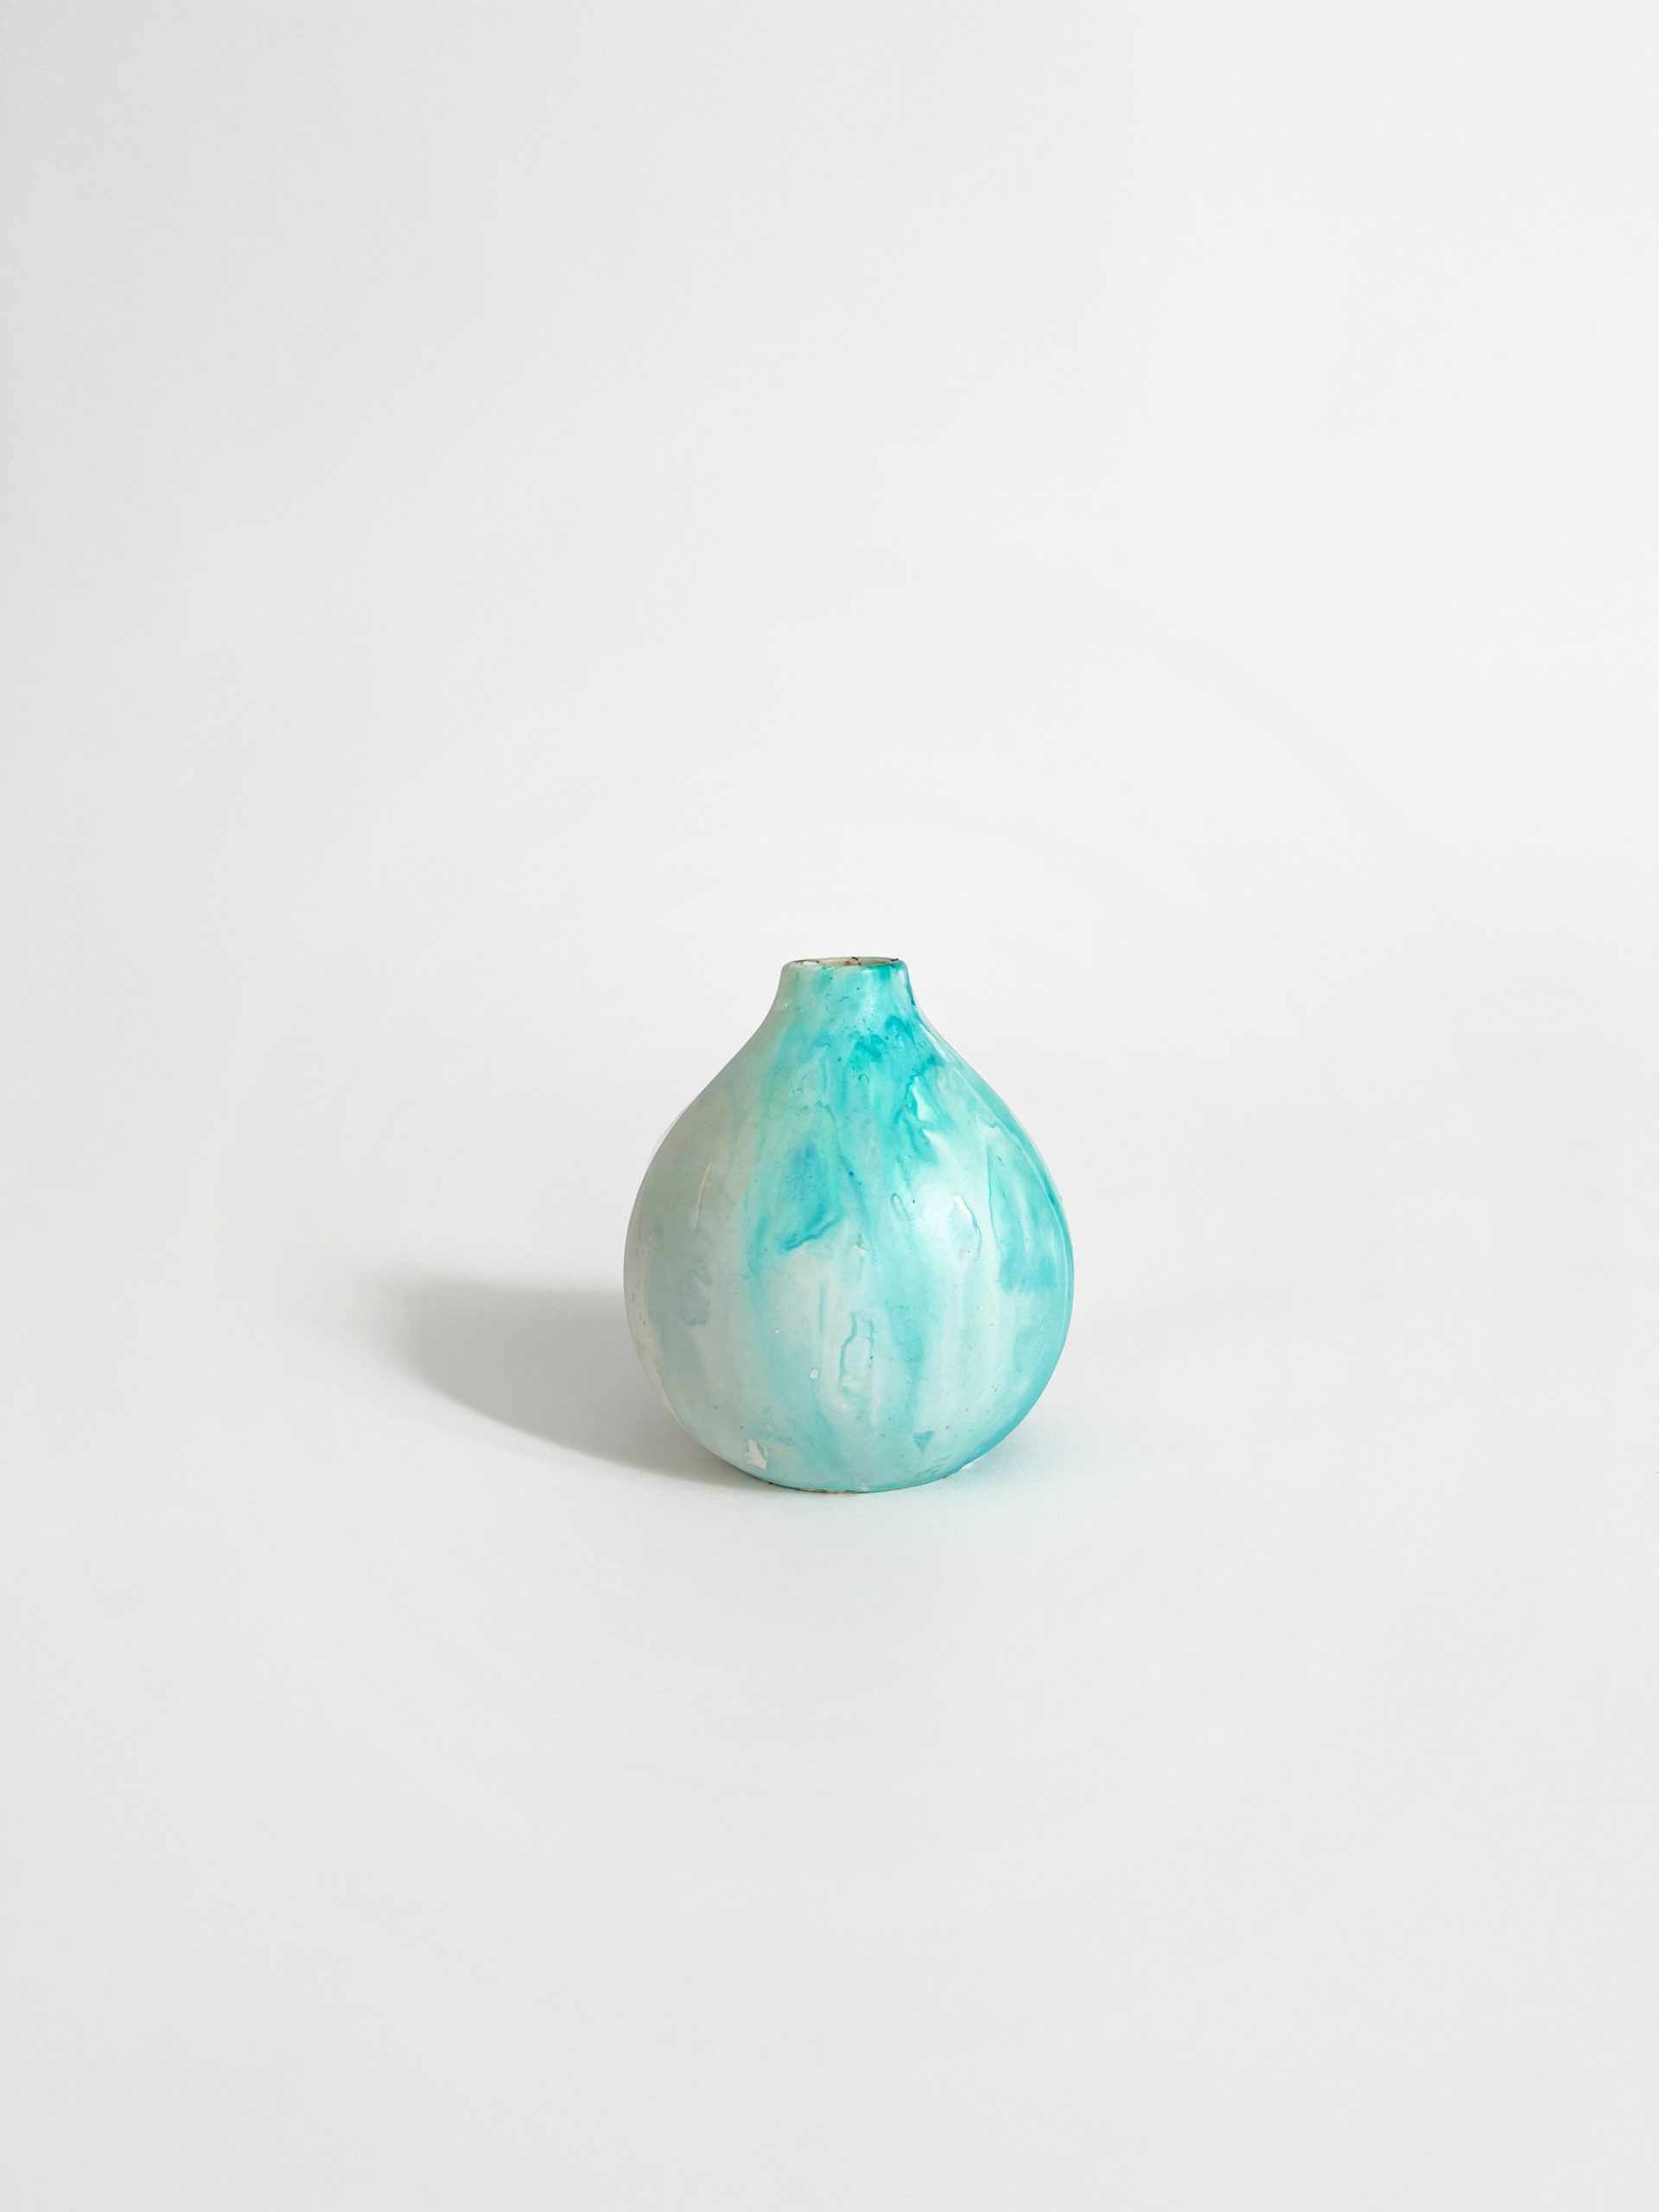

Throughout this series, I’ve explained how to shoot and edit product products that appeal to shoppers and drive conversions. This final installment is a wrap-up, applying all of the concepts I’ve addressed to a single image using only my iPhone and three editing tools.
Optimizing
The shot is an eye-level viewpoint from a 45-degree angle using an iPhone and studio tripod.
Remove the extraneous objects in the top-right corner (marked in green) with the Touch ReTouch’s brush tool.

![Prime Day in October [How To Prepare For The Prime Early Access Sale]](https://research-institute.org/wp-content/uploads/2022/09/prime-day-in-october-how-to-prepare-for-the-prime-early-access-sale-768x376.jpg)
